Grout is often the unsung hero of our tiled surfaces, providing the structural integrity that keeps our tiles in place while also contributing to the overall aesthetic of our spaces. However, over time, grout can become dingy and stained, detracting from the beauty of the tiles and making even the cleanest of kitchens or bathrooms appear grimy. The good news is that restoring grout to its former glory doesn’t have to be a time-consuming or labor-intensive task.
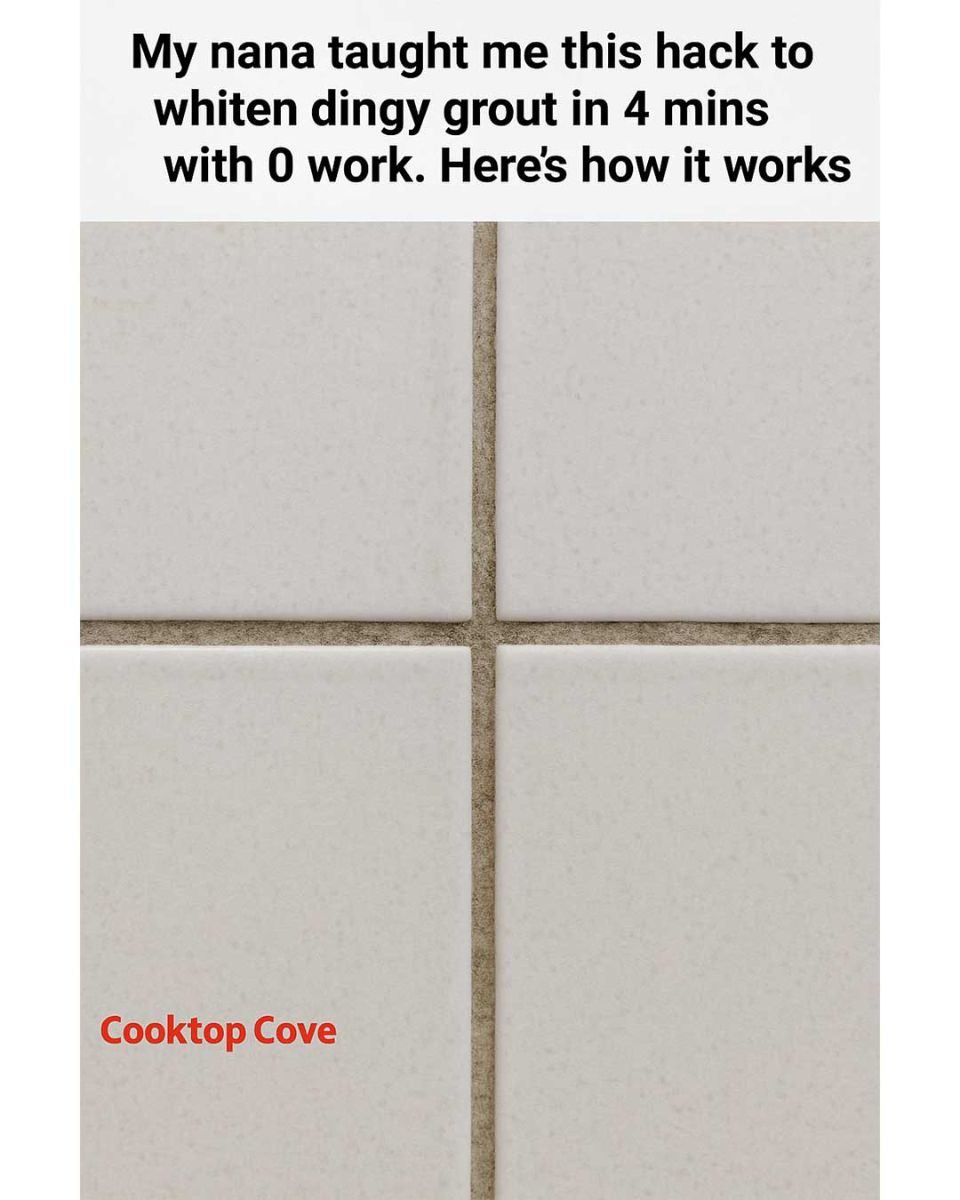
My nana, a fountain of practical wisdom and household tips, shared a grout-whitening hack with me that takes only four minutes and requires virtually no work. This simple yet effective method has been a game-changer in maintaining the cleanliness and appearance of my home, and today, I am excited to share it with you.
Advertisement
1. The Magic Ingredient: What Makes This Hack Work
The secret to this grout-whitening hack lies in the use of hydrogen peroxide. Hydrogen peroxide is a mild antiseptic commonly found in first aid kits, but its oxidizing properties make it a powerful cleaning agent as well. When applied to grout, hydrogen peroxide works to break down and lift stains, brightening the grout’s appearance without the need for harsh chemicals or scrubbing.
For this hack, you will need hydrogen peroxide with a concentration of 3%, which is readily available at most pharmacies and supermarkets. This concentration is safe for household use and effective enough to tackle even stubborn grout stains. By allowing the hydrogen peroxide to sit on the grout, it penetrates and reacts with the stains, effectively removing them and leaving the grout looking as good as new.
2. Step-by-Step: How to Prepare the Mixture
To prepare the mixture for this grout-whitening hack, you’ll need a small spray bottle, hydrogen peroxide (3% concentration), and a few drops of dish soap for added cleaning power.
Start by filling the spray bottle with hydrogen peroxide, leaving a little space at the top. Add 2-3 drops of dish soap to the bottle and gently swirl to combine the ingredients. The dish soap helps to break down any grease or grime on the grout, enhancing the cleaning action of the hydrogen peroxide. This simple mixture is now ready to whiten your grout in just minutes.
3. Application Process: Letting the Mixture Do the Work
Once your mixture is ready, generously spray it onto the grout lines, ensuring that the grout is thoroughly saturated. There’s no need to scrub or apply pressure; simply let the mixture sit and work its magic.
Allow the mixture to sit on the grout for about 4 minutes. During this time, the hydrogen peroxide will penetrate the grout and lift the stains, while the dish soap helps to loosen any surface grime. After the time is up, wipe away the mixture with a damp cloth or sponge. You’ll be amazed at how much brighter and cleaner your grout appears, all with minimal effort.
4. The Science Behind Grout Stains and Whitening
